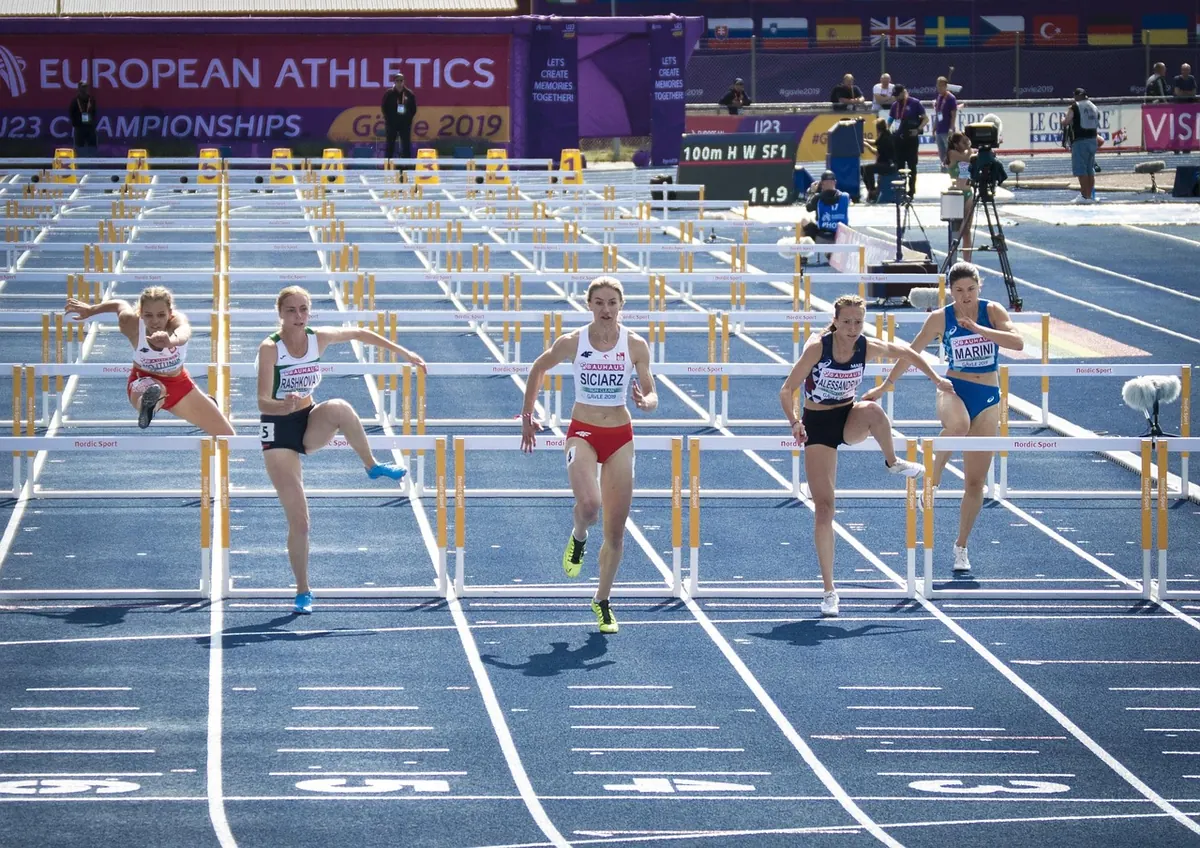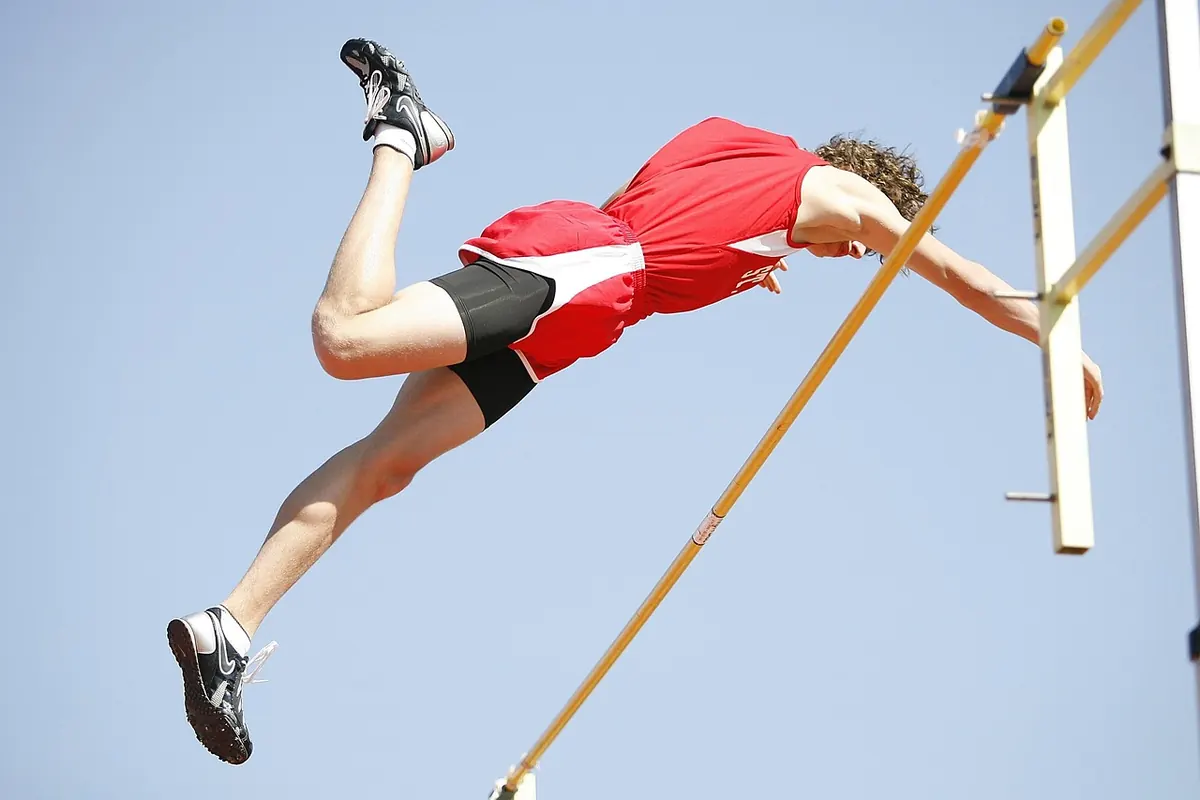
Indoor season is a controlled experiment: same runway, same temperature, still air, and a roof that keeps the weather out of your run. The first outdoor practice ends all of that. The runway may be longer or shorter than the one you know, the surface grabs differently, and the wind refuses to hold still. The pole that felt perfect in February can feel like a different pole in April. None of that is a problem. It just means a handful of things you dialed in indoors need to be re-tested outside, and the vaulters who adjust fastest are the ones who spend the first few sessions paying attention instead of chasing height.
Wind Is the One Variable You Cannot Ignore
Check the flags before every run, not just at the start of practice. Wind at an outdoor facility shifts by the minute, and the gust that helped your teammate may be gone by the time you step onto the runway. Learn where the flags and the wind sock sit relative to your approach, and glance at them the way a sprinter glances at the start line.
Headwind
A steady headwind costs you speed at takeoff. It usually shows up as a plant that feels heavy, hips that never quite get in front of the pole, and a bar you come down on. Rather than fighting it with more effort, adjust: stay tall and patient through the last six steps, keep your posture upright instead of leaning into the wind, and be willing to grip down or move to a softer pole. If the wind is strong enough that you cannot hold your normal run, shorten the approach and take a slower, cleaner run over a rushed one.
Tailwind
Tailwinds feel generous and are often the more dangerous of the two. Extra speed sounds like a gift, but it also means you arrive at the box with more energy than your pole was chosen for — and a gust that dies mid-run leaves you over-poled and stalling. On a tailwind day, take a full run to feel it out before changing anything, then consider a stiffer pole or a slightly higher grip, one adjustment at a time.
Crosswind
A crosswind is mostly a balance problem. It pushes you off line on the approach and can catch the pole at the plant, making the whole vault feel crooked. You cannot fix it, but you can notice it: run through the middle of the runway, keep both hands committed at the plant, and expect a small correction on the way up.
The Runway Is a New Surface
Even a well-built outdoor runway will not feel like the one you used all winter. Most are rubber or polyurethane, and their grip and speed change with temperature — a warm runway is quick, a cold one is sluggish. Many outdoor runways are crowned slightly for drainage, so the middle sits higher than the edges, and expansion joints or seams can throw off a step if you hit one right at takeoff.
Walk the runway before you vault. Check where it begins, since outdoor runways vary in length and you may have more or less room than indoors. Look at the box, the planting pad, and the apron height relative to the runway; a different box depth changes where your takeoff feels right. Then measure your marks with a tape rather than trusting the ones in your head from an indoor runway.
Choosing a Pole for Outdoor Conditions
Treat the pole you finished indoors with as your baseline, not your answer. Wind, temperature, and how the surface feels under your spikes can change what a pole does by enough to matter.
- Bring options. Two or three poles at a session beats one. Know in advance which is your windy-day pole and which is your fast-runway pole.
- Adjust one variable at a time. Grip height and pole stiffness both change the same equation. Move one, take a full vault, then decide about the other.
- Headwind or cold: grip down a hand-width at a time, or step to a softer or shorter pole.
- Tailwind or a hot, fast runway: consider a stiffer pole or a slightly higher grip, but only after a clean run.
- Log it. Note the pole, grip, wind direction, and how the vault felt. After a month you'll have your own outdoor playbook.
Rebuild Your Check Marks
Your approach is the part of the vault most sensitive to a new runway, because a stride length that worked on one surface may not work on another. Start with a short run-up and work up. Put down a mid-mark — usually around the six-step point — and a start mark, both measured with a tape. Then run them several times without a bar and watch where your takeoff lands relative to the box.
If your runway is shorter than what you trained on, you cannot simply use the same approach. Learn to accelerate harder in the first few steps so you arrive at the box with the speed you need. If it's longer, resist the urge to add steps; add a stride or two only when your run is consistently under-speed.
Long Waits and Cold Hands
Outdoor meets involve more standing around, often in wind you did not plan for. Cold muscles and cold hands make a pole feel heavier and a plant feel late. Keep a jacket and gloves on between attempts, and use a short, repeatable warm-up you can restart in pieces rather than one long routine that fades out. Dry socks and spare shoes in the bag earn their space on a wet day. If you have a history of injury or a health condition that cold weather or hard effort could aggravate, talk with your coach and a medical professional before pushing through.
Your First Three Outdoor Sessions
Many athletes waste the first two weeks outdoors trying to repeat indoor numbers. Use the transition instead as a short block with a clear purpose.
- Session one: short approaches only. Walk the runway, set your check marks, take six to eight four-step and six-step run-ups, and finish on a comfortable bar. No personal bests.
- Session two: full approach at moderate heights, with one deliberate pole or grip change.
- Session three: vault in whatever wind shows up and make a decision for each condition — which pole, which grip, which run. Write it down.
The goal is not to arrive at your first outdoor meet perfectly calibrated, because the wind will not cooperate anyway. The goal is to know what your body needs to do when the air is moving, so the adjustments become automatic instead of a surprise.
Photo: KeithJJ / Pixabay